Step-by-Step Toilet Installation Guide from Super Service Plumbing, Santa Rosa
Santa Rosa, United States - July 3, 2025 / Super Service Plumbing /
Santa Rosa, CA–Installing a new toilet goes beyond upgrading your bathroom—it can fix everyday issues like poor flushing, frequent clogs, and ongoing leaks at the base. Many older toilets are inefficient and waste water, leading to higher utility costs. Replacing them with modern models improves performance and conserves water. Super Service Plumbing in Santa Rosa offers professional guidance as well as professional toilet replacement services to make the process easy and worry-free.
Toilet Bowl Replacement Tips
When choosing a new toilet bowl, think about the height and style. Standard bowls are around 14–15 inches high, while comfort-height toilets reach 16–18 inches, which many people find easier to use. Also, match the color and shape to your bathroom’s design.
If your current toilet shows signs of damage or you frequently deal with toilet leaks at the base, then toilet bowl replacement is likely the better option. A new toilet that uses less water can also make a big difference in your household’s water usage.

What You Need Before You Begin
Installing a toilet starts with having the right tools and materials. Before removing the old unit, gather these essentials:
A new toilet that fits your bathroom and plumbing
A toilet wax ring for sealing
Adjustable wrench and screwdriver
Plumber’s putty for sealing gaps
Toilet flange repair kit, if your flange is damaged
Level to keep the toilet even
Safety glasses, towels, and rags for cleanup
Preparing these items in advance makes the process smoother and prevents delays.
How to Replace a Toilet in Three Basic Steps
Step 1 – Remove the Old Toilet
Turn off the water supply behind the toilet.
Flush the toilet to empty the tank.
Use a sponge or towel to soak up leftover water.
Disconnect the water line with a wrench.
Remove the caps and unscrew the bolts at the base.
Carefully lift the toilet and set it aside on a towel.
Check the toilet flange to make sure it isn’t broken or cracked. A damaged flange is one of the main causes of toilet leaks at the base. Replace or repair it before moving forward.
Step 2 – Install the New Toilet
Place the new wax ring on the flange.
Lower the new toilet straight onto the bolts, pressing it into the wax ring.
Tighten the bolts, but avoid overtightening, which can crack the base.
Reconnect the water supply line.
Open the shut-off valve and let the tank fill.
Check for leaks around the base and water line.
Step 3 – Test and Seal the Toilet
Flush the toilet several times to check how it works.
Use a level to make sure the base is straight.
Apply plumber’s putty or caulk around the base.
If you notice a wobble or any leaks during this phase, stop and make adjustments. Even small toilet leaks at the base can turn into larger problems later on.
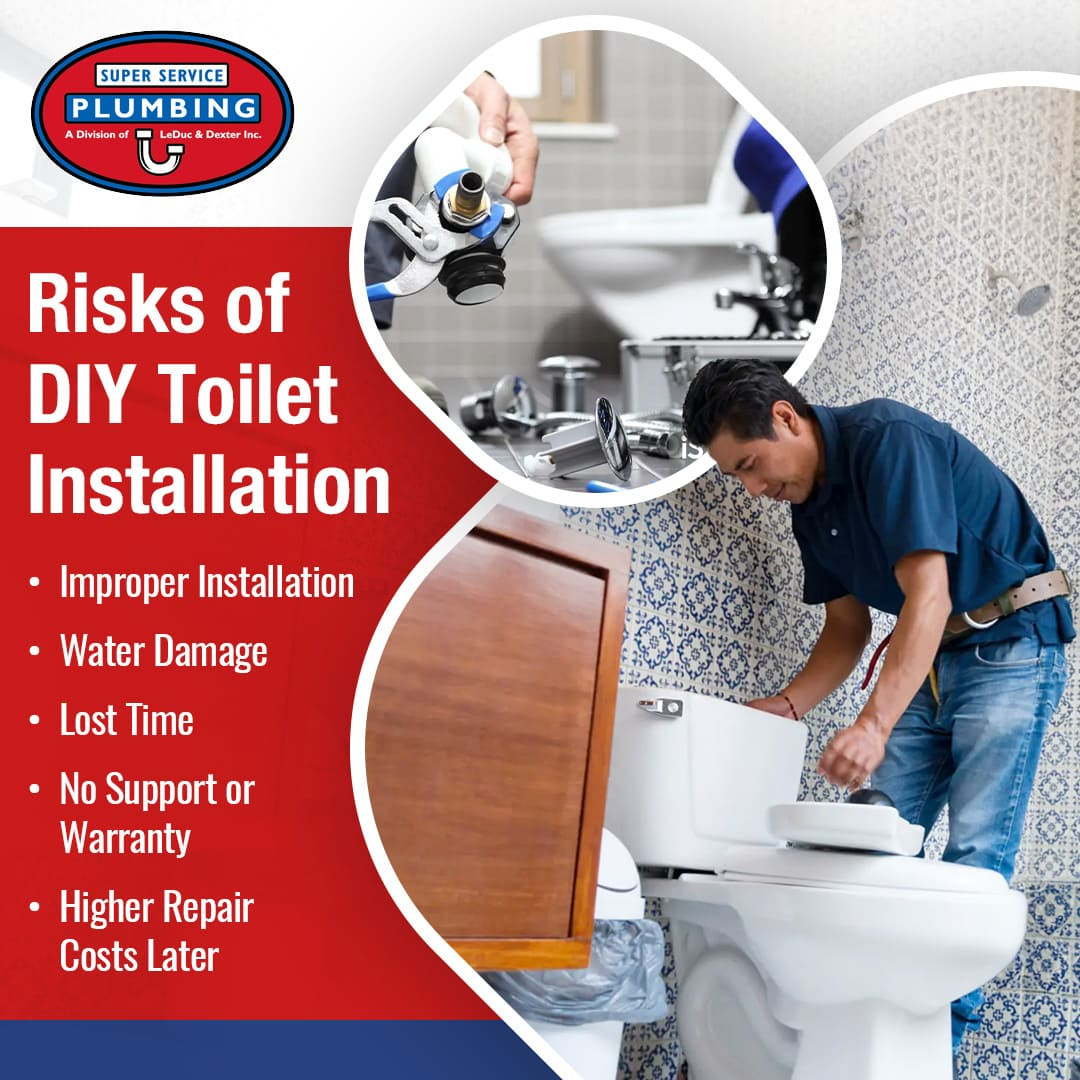
Risks of DIY Toilet Installation
Doing the work yourself may look like a way to save money, but it comes with a few risks that homeowners should think about.
1. Improper Installation
Without proper steps, a toilet may not seal correctly. This can lead to leaks, poor flushing, or rocking. Fixing these issues often means starting over or calling for toilet repair services.
2. Water Damage
Leaks can damage floors and walls. Even a small drip around the base can lead to mold or wood rot if not fixed quickly. This is one of the most common results of poor DIY installation.
3. Lost Time
Installing a toilet can take hours, especially for someone unfamiliar with plumbing. Time spent correcting mistakes or buying missing parts adds up quickly.
4. No Support or Warranty
DIY jobs don’t include warranties. If something goes wrong, homeowners must pay for repairs themselves. Professional installations often include a guarantee.
5. Higher Repair Costs Later
A full professional installation may be less expensive than repairs for poorly constructed toilets. Frequently, homeowners wind up requesting toilet repair when they realize it.

When to Call a Professional
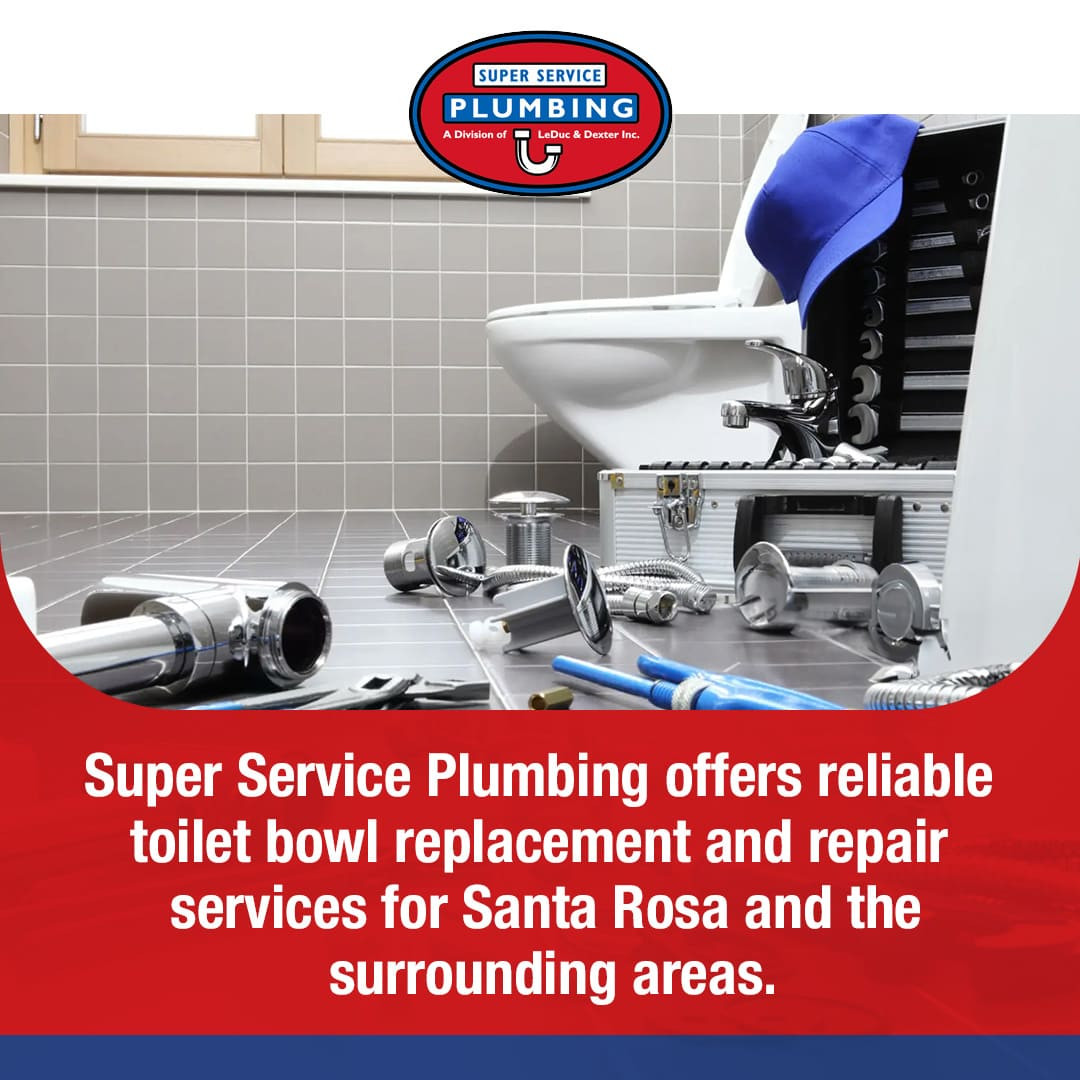
If your toilet is leaking at the base, wobbling, or not flushing right, even after installation, it’s time to call for help. Super Service Plumbing offers reliable toilet bowl replacement and repair services for Santa Rosa and the surrounding areas. With the right tools and know-how, they make sure the job is done right, saving homeowners from extra costs and stress.
Whether you’re installing a new toilet or fixing an old one, it’s important to act quickly and carefully. If you’re not confident about handling it on your own, it’s best to call a local plumber to avoid long-term damage.
For more details on professional toilet repair or installation services, contact Super Service Plumbing in Santa Rosa at (707) 544-6444 or service@ldplumb.com.

Contact Information:
Super Service Plumbing
2833 Dowd Dr A
Santa Rosa, CA 95407
United States
Nick Dexter
(707) 544-6444
https://www.superserviceplumbing.com/
![]()
Original Source: https://www.superserviceplumbing.com/step-by-step-toilet-installation-guide-from-super-service-plumbing-santa-rosa/